I love color. I paint for those that like color as well.
This summer has been a little manic for me and my family but despite the constant activity I have been able to finish a few big projects.
This vintage kitchen table and chairs was one of them. I love how it turned out. The colors are happy and warm.

My husband is happy because it’s finally out of the basement and ready for my store space. It was taking up quite a bit of room in the man cave.
Every time he’d ask about it I felt like I was saying…it’s almost done just one more coat of paint, just one more coat of poly. It was always just one more coat of something.
Since I’m selling the set I wanted to be sure it was really sealed well and had plenty of time to cure. As much as I’d love to fling on another coat right after the suggested drying times of 2-4 hours – I’ve noticed that things go better when you take your time between coats of paint and sealers. I typically wait longer than the suggested drying times. Over the years based on the different projects I’ve done, I feel like the overall results look better and last longer. (example: still tacky to the touch kitchen cabinets in our old home in CA due to improper temperature conditions and drying times).
I know it’s hard to wait. Especially when that project has been sitting there for over a year and you finally decide to do it, you want it done like now. But….you’ve waited this long to start, so take your time and let it dry. Go browse Pinterest or something.
Project notes:
Spindles are a pain and make me dizzy.
Table – CeCe Caldwell’s Vintage White with her Endurance Topcoat.
Chairs with arms – White Raisin – (Sherwin William’s color, the best yellow on the planet) with poly topcoats.
Other two chairs – Sherwin Williams Agate Green with poly topcoats
My other project was for my Mom. She needed to find a small dresser and nightstand for her guest room. I just happen to have both such pieces in my basement waiting to be painted.
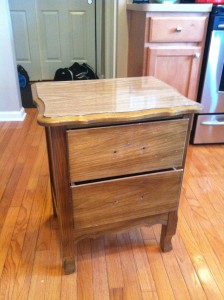
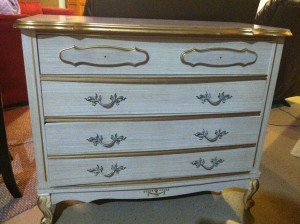
She wanted yellow with a pretty aqua/green underneath so it would show with some light distressing.
We settled on two HGTV for Sherwin Williams colors: Butter Up (yellow) and Aloe (blue-green). Gorgeous!

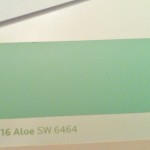
TIP When distressing a piece using two colors – it is easier to put the lighter color underneath.
I ended up having to put on 4 coats of yellow to have it adequately cover the green. The darker color underneath “tints” or compromises the lighter color.
But we wanted the green underneath so I continued to paint and paint and paint.
Once everything was dry we did a little distressing with sand paper (Grit 280 & 400) and then 2 coats of polyurethane.
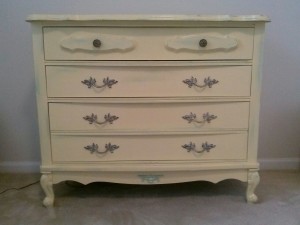
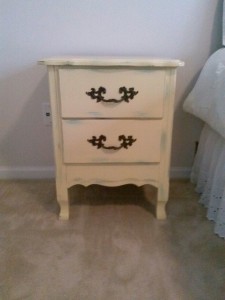
She was thrilled with the end results. While this type of two color distressing took a little longer, it’s worth it if that’s the look and colors you want.
TIP When distressing press very lightly to reveal the 2nd color underneath. If you start distressing to aggressively you might end up sanding through the color right down to the wood (which is fine for normal distressing but not when you want to reveal your bottom color).
Once again, my husband was happy to have some open space in the man cave. Obviously he didn’t see the hutch, bookshelf and crate waiting in the garage to be brought down to the basement. Honey…..I need your help…….
Till the next time,
Julie
Till the next time,
Julie


I like the table and chairs! Pretty colors!
Thanks Cynthia! I always seem to gravitate towards blue, green and yellow – colors of nature never get old!